In the Photoshop ACA exam, questions about Photoshop ACA are divided into five topic areas, which are used to set project requirements, identify design elements when preparing images, understand Photoshop, manipulate images, and evaluate digital images.
1.Setting project requirements
2.identifying design elements when preparing images
3.Understanding Photoshop
4.Manipulating images
5.Evaluating digital images
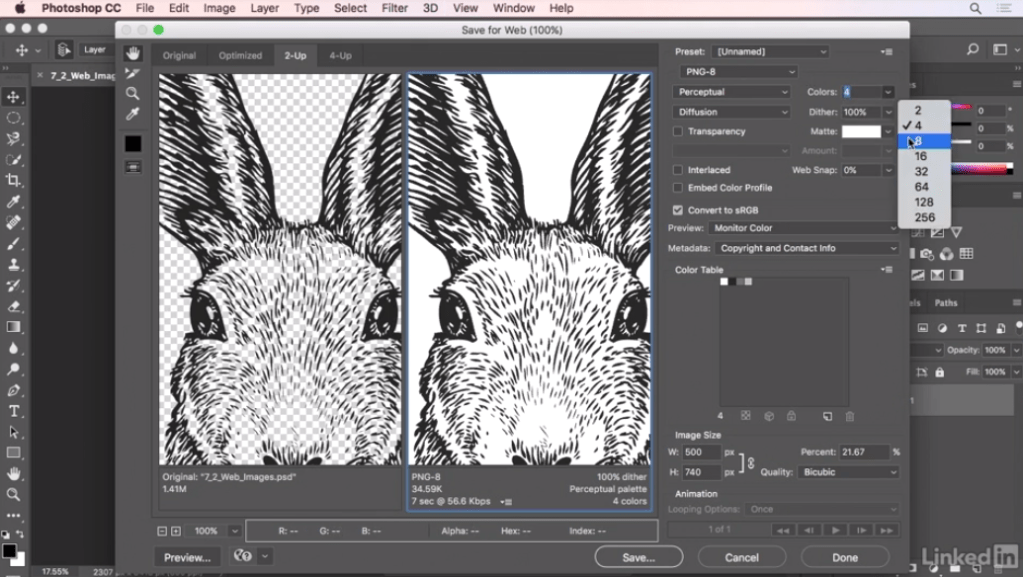
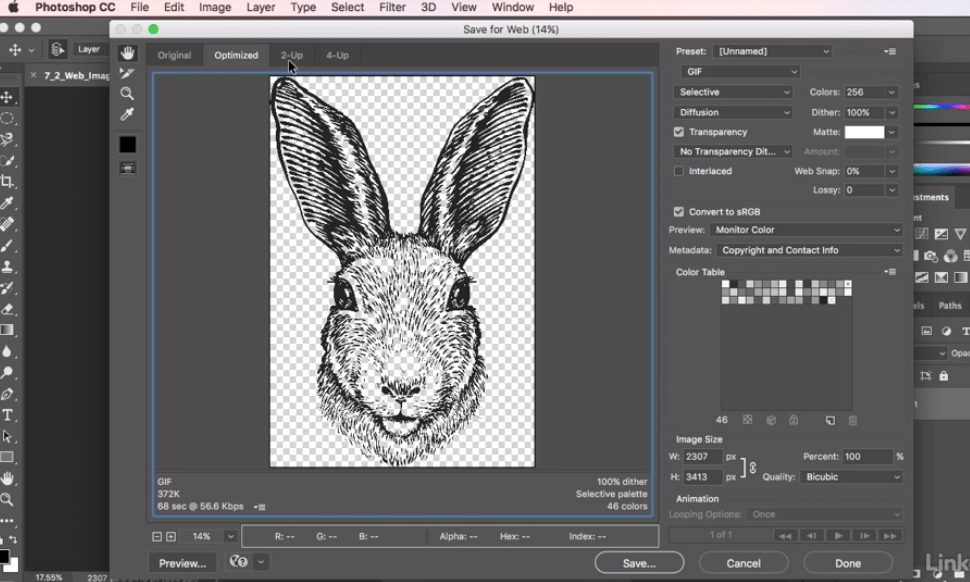
First, we need a smaller version. Therefore, our goal for exporting to the Web is to reduce this to the appropriate size to keep the file size as small as possible, while maintaining the best quality. Then we’ll select file, export, and save as Web. Then in the dialog box, select fit view to view the entire image, and then use two-way view to view the preview of the original image and export file side by side. We’ll look at it at 100% scale. Now, this is not a bad image. But file sizes are still high. More than 100,000. We can try to lower the JPEG quality to apply more compression and reduce the file size so that it can go from high to medium. Or even lower. Finally, save it as rabbit.png. Save it on your desktop and you’re done.

Having learned how to create a new GIMP document by changing one of the templates listed in the new image dialog, we can create custom templates with all the values we need. In Windows, we see a list of available templates for creating new documents. In fact, template dialogs give you a very fast way to make new documents. We just need to find the right template. In image size, you can click the triangle next to advanced options to check and make sure you’re using an RGB image, or whatever format you want. If you want to create a new image for a text message, you can double-click the icon here in the template dialog. If you need to change this template later because of changes in the format of the newsletter, click once to select the template, and then select edit templates.